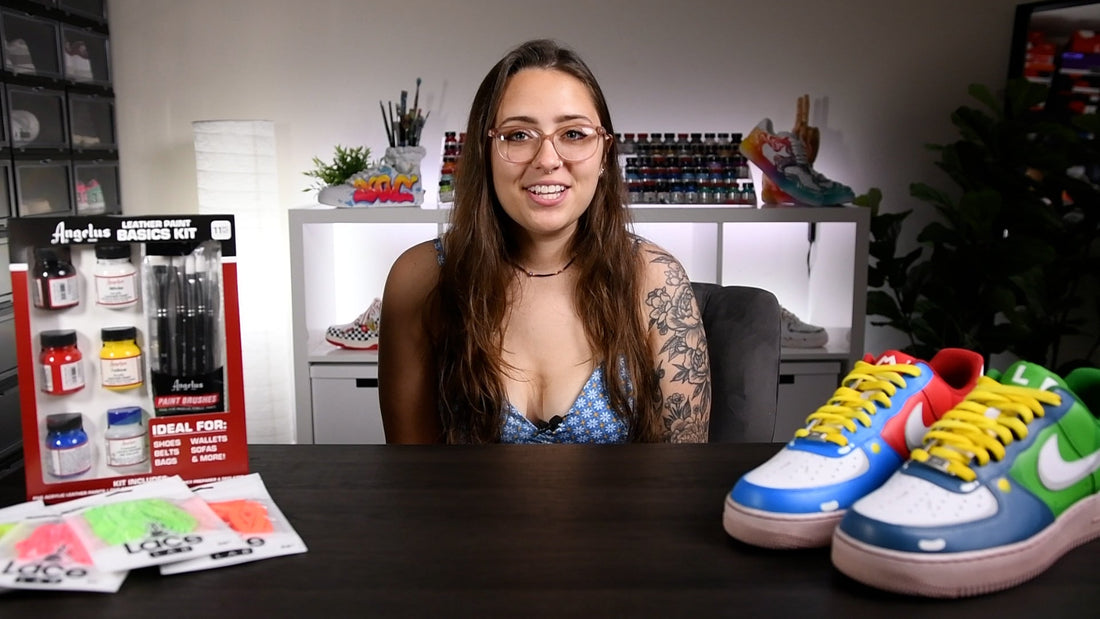
The Ultimate Guide: How to Customize Sneakers from Start to Finish
Share
Welcome to a comprehensive guide on how to create your own custom sneakers with your girl Mikaela, aka Sneaker Queen's Customs! With over four years of experience in customizing hundreds of shoes, I'm here to walk you through the entire process, step by step. Get ready to unleash your creativity and transform your sneakers into unique works of art.
Video filmed and edited by Made By Treven
Shop all Angelus Direct products
Step 1: Prepping the Sneakers
Before you start painting, it's crucial to remove the factory finish from the leather surface. Use Angelus Leather Prepare and Deglazer with cotton pads to ensure the paint adheres perfectly. Take your time to cover every nook and cranny for the best results.
Step 2: Dyeing the Sneakers
Discover how to change the color of your sneakers using dye. Unlike paint, dyeing is the only way to alter the color of rubber soles effectively. I recommend using Rit Dyemore Synthetic line of dyes mixed with a bit of dish soap. Follow the dye to water ratio instructions for optimal saturation.
Step 3: Painting Techniques
For a professional paint job, use Angelus Direct paints specifically designed for custom shoes. Paint in multiple thin layers and allow sufficient drying time between each coat. Experiment with different brush types like flat, rounded, or liners for various detailing needs.
Step 4: Perfecting Details and Edges
Cover the parts of the sneaker you don't want to paint with tape, but ensure it's flush with the edges to avoid blank spots. Remember to paint the edges of the different leather panels, as leaving them blank can make the shoes look incomplete.
Step 5: Customizing the Sock Liner
Learn to customize the sock liner using Angelus Too Soft in a 1:1 ratio with paint. Tape the tongue back to keep it out of the way while painting. Thoroughly saturate the fabric, then heat set it with a heat gun for flexible and durable results.
Step 6: Creating Custom Laces
Personalize your laces by mixing Angelus paint and 2-Soft in a 1:1 ratio inside of a sandwich baggie. Coat the laces in the mixture, let them soak, then rinse until the water runs clear. Heat set with a heathen, then air dry them overnight on a rack.
Step 7: Sealing and Protecting
Seal your custom sneakers with Angelus Finishers for a professional look and added protection. Matte finish is recommended for most custom projects.
Congratulations!
You've completed the journey of customizing your sneakers from start to finish with Sneaker Queens Customs. Remember, each step is vital, and attention to detail ensures a paint job that lasts. Don't let the fear of making mistakes hold you back; there's always a fix.
If you want to explore more techniques, head over to my YouTube channel for additional video tutorials. All the Angelus products used in this guide are available using this link. Now have fun and create your personalized masterpieces!

1 comment
Dear Mikaela, my name is Cecily I go to a Steiner Waldorf school in Sussex. As part of the year 9 curriculum, we do a project. The project needs to be a new skill which we study and learn over a 6 months period on whatever we would like, and then present it to our whole school community.
I love trainers and am inspired by your shoes I have decided to base my project of on making and designing a pair of fashion trainers. I would love to come to your factory or design studio to see the process of shoe design.
As part of this project, I need to find a mentor to help me achieve this goal. I am a huge fan of your work and was wondering if you live far away then we could do zoom calls. this will be much help to me
If you think that you could help me in any way I would love to hear from you. Thank you so much for taking time to read my email.
Kindest regards
Cecily Nakhdjevani