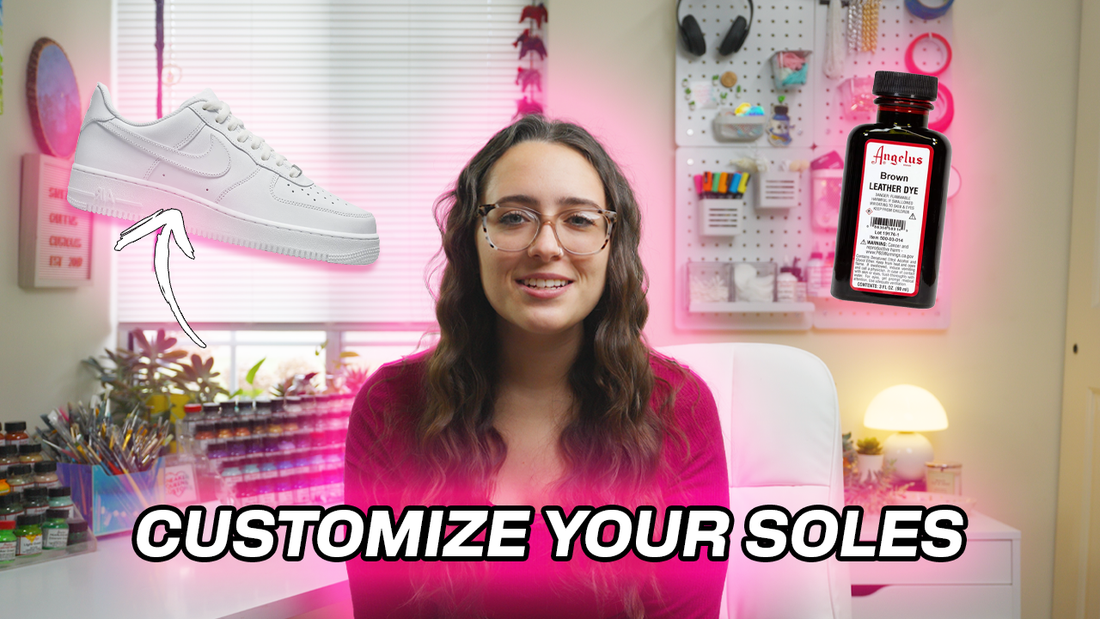
How to Paint Shoe Soles and Midsoles Like a Sneaker Artist
Share
Video filmed and edited by Made By Treven
When it comes to customizing sneakers, one of the most frequently asked questions I get is: Can you paint soles and midsoles?
The answer? Yes… and no.
Here I’m sharing my proven method for customizing sneaker soles the right way—using dye for a durable, long-lasting finish. If you’re serious about sneaker customization and want results that won’t crack, chip, or peel, keep reading!
Why Dye and Not Paint?
If you’ve seen people attempting to paint midsoles and soles with acrylic paint, let me save you the frustration—it won’t last.
Here’s the science behind it:
❌ Acrylic paint is water-based, and rubber is hydrophobic—meaning it repels water. Because of that, acrylic paint sits on top of the rubber rather than bonding with it. Combine that with the natural flexibility of rubber, and the result is a design that cracks and peels quickly.
✅ Alcohol-based dye, on the other hand, is a game-changer. The alcohol softens the rubber’s surface, allowing the dye to soak in at a molecular level. This creates a permanent bond that won’t chip, crack, or fade over time.
Bottom line: If you want a long-lasting, professional-looking sole customization, dye is the only way to go.
When Can You Use Paint on Midsoles?
I know what you’re thinking: Mikaela, I’ve seen you paint on midsoles before! And that’s true—but only in specific cases. When I’ve painted midsoles, it’s been on personal projects where I just wanted to experiment. Occasionally, I’ll extend a design onto the midsole for artistic purposes, knowing it will eventually wear off.
The only time I’ll ever paint midsoles for a paying client is when the shoes are strictly for display only.
So if you’re painting midsoles with acrylics, just know it’s temporary and will eventually crack. For wearable customs? Dye is the way to go.
What You’ll Need
To get started, here’s what you’ll need (I’ve linked all the supplies below for easy access):
- Angelus Leather Dye
- Wool dauber (comes with the dye)
- Flat Paintbrush
- Masking tape or vinyl tape
- Acetone
- Pointed Q-tips
- Cotton Pads
- Gloves
Step 1: Prep Your Workspace
Before you start, protect your workspace! Dye is permanent, so I recommend:
- Covering your table with a trash bag, plastic wrap, or newspaper. (Use tape to keep it secure).
- Wearing gloves to avoid staining your hands.
- Keeping paper towels, an old towel and acetone nearby in case of spills.
A little prep goes a long way in preventing messy mistakes!
Step 2: Preparing the Soles & Midsoles
Prepping your soles properly is the key to a smooth, even dye job. Here’s how to do it:
- Use acetone and cotton pads to remove any factory coating on the rubber. This allows the dye to soak in evenly.
- Take your time applying masking or vinyl tape around the upper section of the midsoles. A tight, flush application helps prevent bleeding.
- Avoid using an X-Acto knife to trim excess tape—it’s better to apply the tape neatly from the start for a cleaner edge.
Step 3: Applying the Dye
Now for the fun part—applying the dye! Follow these steps for the best results:
- Start with a Flat Brush for Precision
- Use a flat paintbrush to carefully apply dye along the edges of the midsole.
- Avoid letting dye pool up—it can bleed under the tape.
2. Use a Wool Dauber for Coverage
- Once the edges are done, switch to a wool dauber to cover the rest of the midsole.
- Make sure to apply the dye evenly so you don’t get dark or patchy spots.
3. Layer for a Richer Color
- Let each coat fully dry before applying the next.
- Apply at least two coats of Angelus Leather Dye for full saturation.
4. Let It Dry Overnight
- After your final coat, let the soles dry overnight to ensure the dye fully bonds.
Step 4: The Durability Test
Once your soles are dry, grab a white cloth and rub it over the dyed areas. If the dye is properly set, it won’t transfer! If it does, let the shoes dry longer or apply a light finisher.
Final Thoughts: Customize Like a Pro
And there you have it—a durable, long-lasting way to customize sneaker soles!
Remember: Customization is all about creativity and experimentation! Whether you’re creating personal projects or selling your customs, knowing the right techniques will take your work to the next level. Make sure to check out my other tutorials to learn even more!
Happy customizing!

1 comment
Have you ever dyed the bottoms of the soles? Would a permanent acrylic waterproof dye hold up to being walked on? My main concern (thought of after I had finished dying!) is would they leave marks where you walked. I’m wondering about store floors, mall hallways, porches, residential outdoor steps, etc.
I used a water-based acrylic jumbo pen which is guaranteed waterPROOF when dry, not simply water resistant.
Any advice/opinion would be welcome, but if you don’t know just say so; no loss of respect from me for honesty.