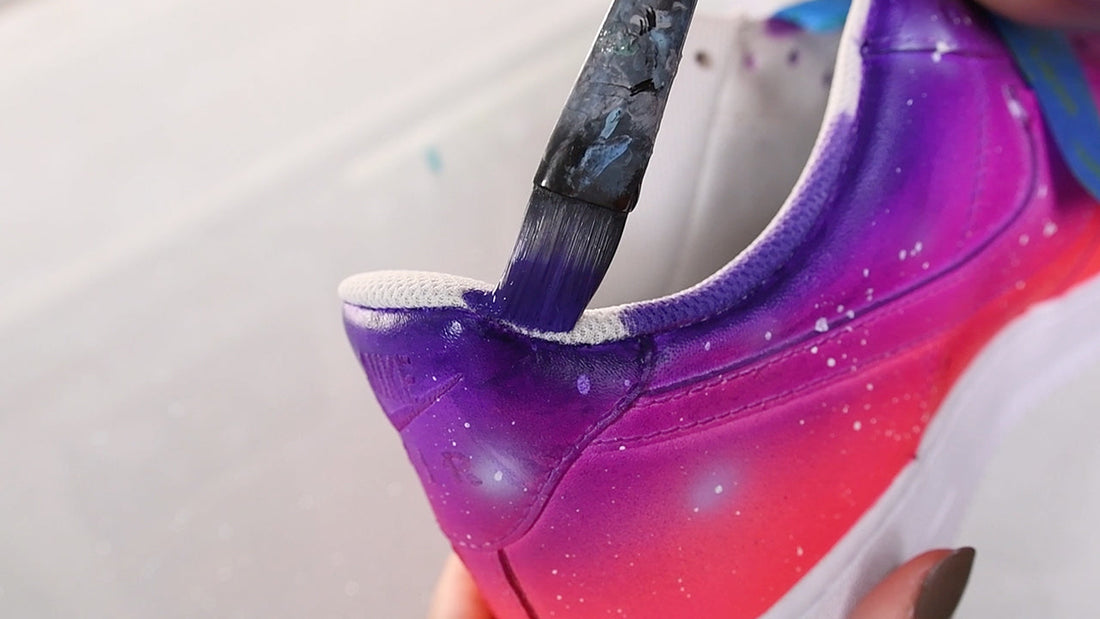
How to Customize Sock Liners on Sneakers
Share
Video filmed and edited by Made By Treven
To supplement this tutorial, I've created a detailed video tutorial that visually demonstrates the process of customizing sock liners on sneakers. Gain additional insights and see the techniques in action. Don't forget to subscribe to my channel for more sneaker customization tips and tricks!
Are you ready to take your sneaker game to the next level? Customizing your sock liners can be a unique and creative way to personalize your sneakers and make a bold fashion statement. In this article, I will guide you through the step-by-step process of customizing sock liners on sneakers, including fabric sneakers.
Materials You'll Need
- Angelus paint in a color of your choice
- Angelus 2-Soft
- Sneakers of your choice (Nike Air Force 1 works well)
- Heat gun
- Mixing jar
- Flat paint brush
Step 1: Prepare Your Paint Mixture
Start by preparing your paint mixture. In a mixing jar, pour equal parts of Angelus paint and Angelus 2-Soft. For example, if you use one ounce of paint, add one ounce of 2-Soft. Thoroughly mix the combination to achieve a smooth consistency.
Step 2: Set Up Your Sneakers for Painting
To ensure a clean and hassle-free customization process, prepare your sneakers for painting. Pull the tongue of the sneaker all the way out and place a piece of tape across the shoe to keep it out of the way while you work on the sock liner.
Step 3: Apply the Paint Mixture
With your flat paint brush, carefully apply the paint mixture to the sock liner. Take caution not to drip any paint, as the mixture can be runny. Start from the top and work your way down, covering the entire inner sock liner down to the insole. Ensure even coverage and smooth application.
Step 4: Allow the Paint to Soak
Once the sock liner is completely painted, allow it to sit and soak for approximately 10 minutes. This time allows the paint to penetrate the fabric and ensure vibrant and long-lasting results.
Step 5: Touch Up if Necessary
After the initial soak, inspect the sock liner for any areas that may need touch-up. If you notice any spots where the paint didn't fully adhere or areas that require more coverage, simply repaint those sections.
Step 6: Heat Set the Fabric
To set the paint and ensure its durability, use a heat gun. Hold the heat gun at a safe distance from the fabric and heat set the painted sock liner for about 3-5 minutes. Be cautious not to get too close, as excessive heat can potentially burn the fabric. Move the heat gun in a steady motion to evenly distribute the heat.
Step 7: Final Touches and Enjoy!
Once you've completed the heat setting, remove the tape and make sure the paint is completely dry. Admire your newly customized sock liners! Put your sneakers on and showcase your one-of-a-kind style with confidence.
Customizing sock liners on sneakers is a fantastic way to add a personal touch to your footwear. With a few simple materials and the guidance provided by Sneaker Queens Customs, you can transform your sneakers into unique works of art. Whether you're rocking Nike Air Force 1s or painting fabric sneakers like Vans, this step-by-step process will help you achieve stunning results. Express your style, stand out from the crowd!
